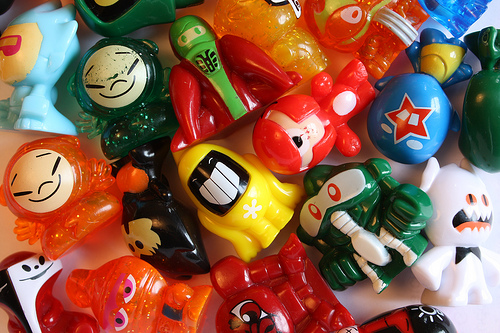
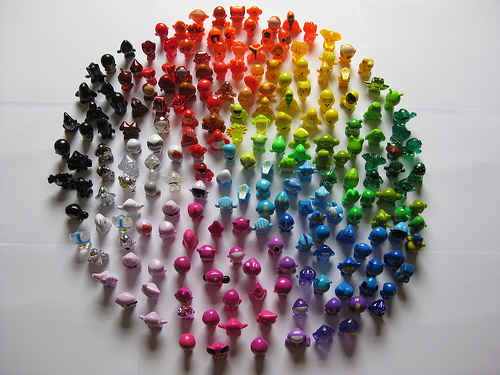
Have you seen these? I was not familiar with these little guys until I read this post from Hopestudios. After reading her post about these little Gogo's, I thought to myself, "My Max would love these. He is so into little figures, this is right up his alley." Well, I was right. He is now crazy for these little guys. In fact, so crazy, I now have a personal slave. He will do anything for a dollar so he can buy more.
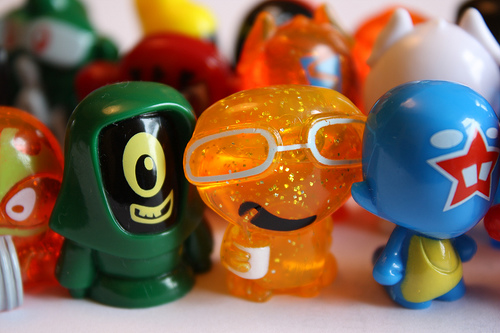
Did I mention they are cheap? They average $1 a piece and come in 3 packs and 4 packs. My local Wal-Mart is not carrying them yet but Toys-R-Us had the 5 packs- buy one get one 1/2 off. So I loaded up for lots of bribery! **Make sure you buy the book, it gives game directions and has a place for stickers**
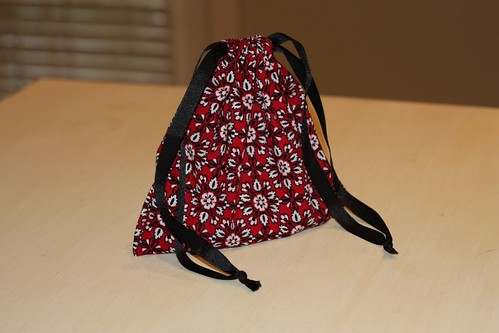
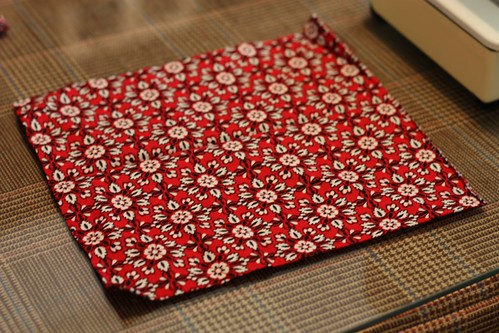
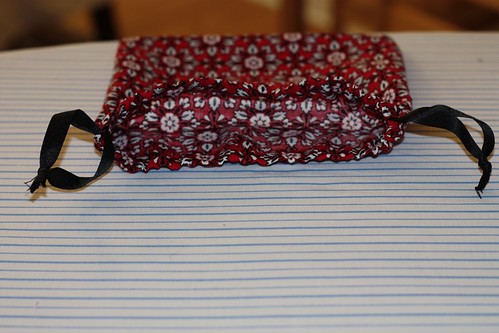
I also made this cute little bag for Max to keep them in and a tutorial just for you! ENJOY!!
Supplies:
Square of fabric (whatever size you want)
2 lengths of ribbon/string/shoelace etc.
Clear Nail Polish (if u use ribbon that unravels at the ends)
Sewing Machine
Iron & Iron Board (optional)
Step One:
Cut a square of fabric (or rectangle etc.). Yes, I could have used something more manly, but this was a scrap!
Step Two:
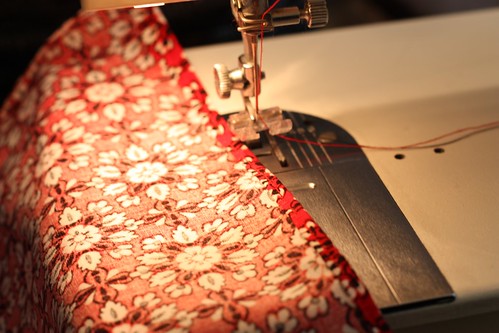
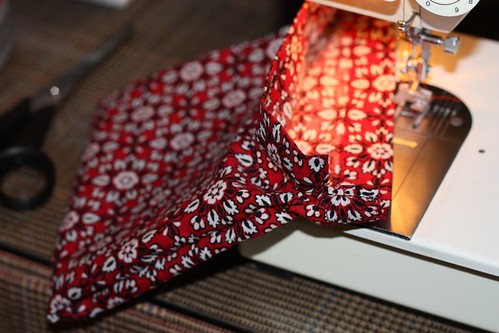
Iron a small hem (1/8-1/4") on what will be the sides of your bag. I do this to avoid using pins and so my side hem will not un-crease when I am sewing. Then crease this again and iron (this will hid any unfinished edges). Stitch.

Step Three:
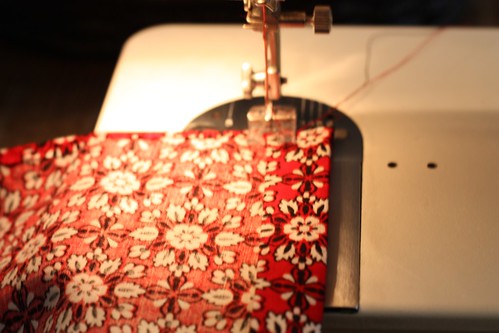
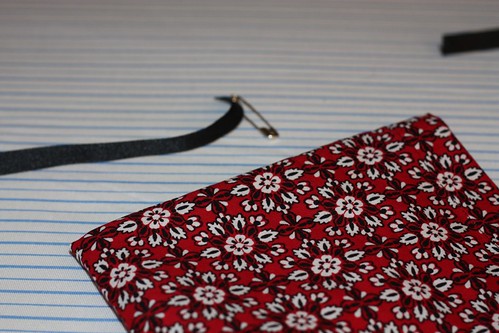
After both sides have been finished, we will now make a pocket for the drawstring. Do the same at the top of the bag that your did with the sides. Make sure your pocket is wide enough for the ribbon to flow through. Also, I use a safety pin to thread my ribbon, so make sure it's wide enough for this also. Stitch
Step Four:
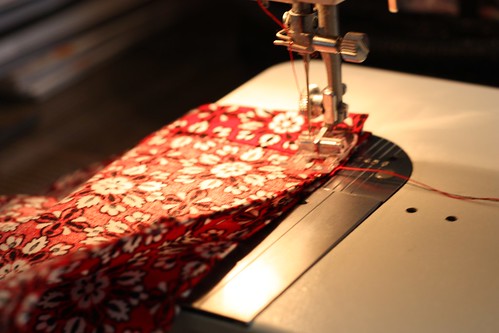
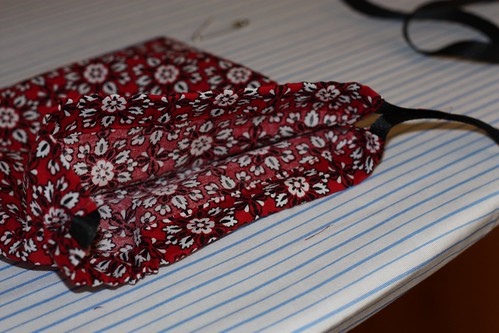
Now it is time to put your bag together. Turn your fabric inside out and start to stich the sides right below the ribbon pockets you created in step three. You are going to leave the ends open of the top ribbon pocket.
Step Five:
Now you are ready to thread your drawstring. You will need two equal lengths. Hold up your drawstring to the top of the bag and look at how much you will need. The drawstring will be double looped and knotted, so be sure to have plenty. You can always trim it down. Once your drawstrings are cut, I use a safety pin to thread them around. You will need to alternate the opening for each string.
Step Six:
I am a terrible teacher and you have my permission to curse my name if my instructions do not work!! Just remember you are sewing a pillowcase type bag. You just have to remember to leave the top open for the drawstring. I used clear nail polish for the ribbon ends to keep them from unraveling.
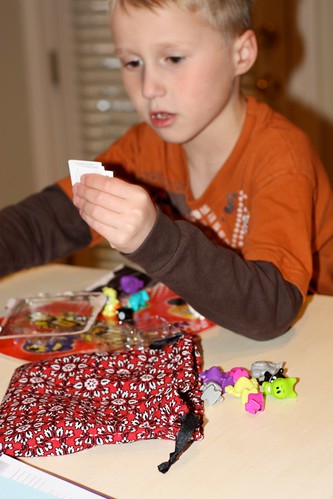
Can you see the look on his face while he opens a new pack of Gogo's Crazy Bones? Priceless!
Now, I am exhausted! This was the longest post...Ev'A!!
~XOXO~

No comments:
Post a Comment