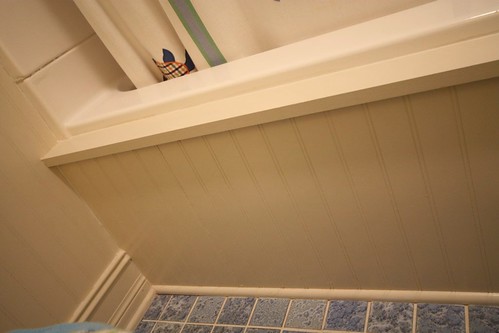
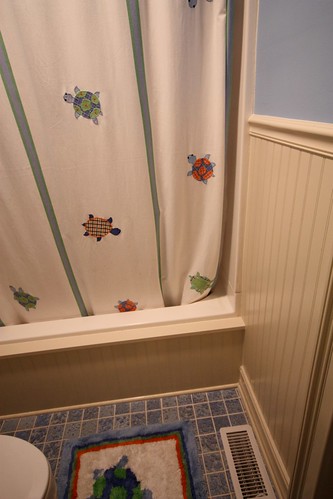
I only have an after picture. I will allow you to leave me nasty comments. Byron and I did this BEFORE I was blogging. Since, I do not have a before picture, let me set the scene. This is a standard fiberglass tub with surround. Every spec house has one...a standard issue.
I wanted the tub to look more custom and to have a built-in look. Byron built a frame out of 1x2s on the front of the tub, then we covered the frame with bead board paneling and trimmed it off. Lots of chalk and paint latter...TA'DA!
This was a very easy project.
**From Byron: Since we were replacing the tile, we were able to nail a horizontal 1x2 directly to the subfloor butted up against the tub. I suppose you could probably just use some "liquid nails" if you wanted to try it on top of an existing tile floor. Next we nailed a vertical 1x2 to the side. Attaching it by nailing it directly into the wall and to the bottom 1x2. Then we nailed a horizontal 1x2 across the top. Basically it is a rectangle frame. Then we nailed the beadboard directly onto the frame. We put a 1x3 on top to cap it off (our tub was a little rounded on the sides, so I had to use a jigsaw to make the top board fit perfectly against tub). Then we painted it all and caulked it really good so that no water could get in between the tub and our new front wood case.**
We also laid the tile, the bead board panelling and painted!


No comments:
Post a Comment