I have always wanted a pergola. Now I have one. I am happy.
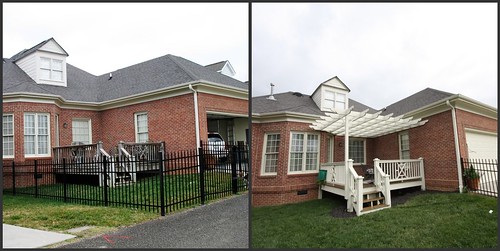
Of course, nothing is easy on this home-front. Due to the height of the deck, the fact that we were trying to save money by adding on to an existing deck and the location of the roof/gutter line, our pergola had to be modified. Instead of stacking the cross beams on top of each other, an illusion was created by constructing a grid. Lots of measuring, lots of cutting. No, we did not do this ourselves.
Our marriage is not that strong.
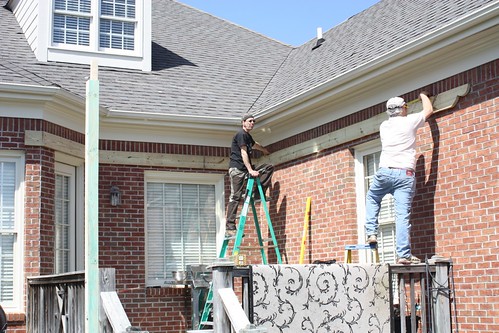
1. First a header was installed, drilled to the brick and a support column was added to the front corner
2. Then the main cross beams were added

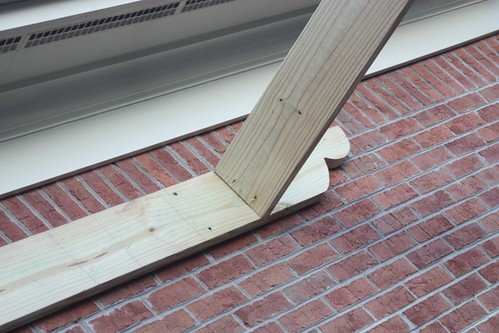
3. Here it gets tricky. The main cross beams intersect the column and the illusion is created
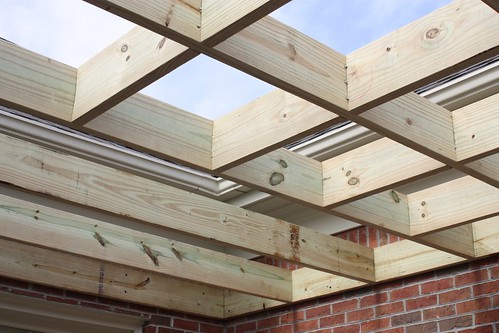
4. After the main beams are put in place, each cross-section is measured & cut

5. Almost complete
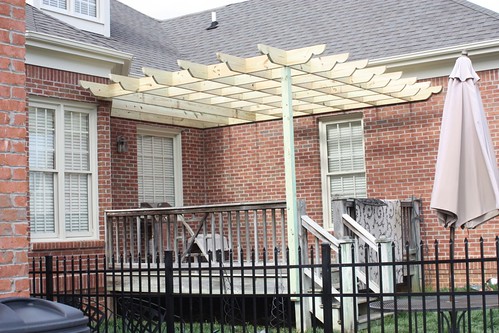
6. Here you can see how the support column was bolted to the existing deck
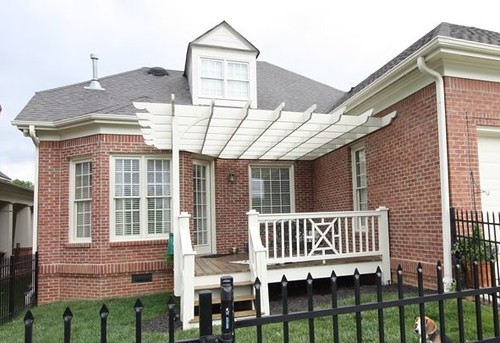
7. Then we had the pergola painted to match the trim and the deck floor stained. Again, we paid someone to do the work. There was no way in hell I was going to paint all this.

8. I planted these vines Hyacinth Bean Vine to climb the pergola
~XOXO~

No comments:
Post a Comment